Flower Press
Let's start with the basics: what exactly *is* a
flower press? Simply put, it's a device that applies pressure to flatten and
dry flowers, preserving their color and shape. You can easily buy a flower
press online, but making your own is a fun and rewarding project! Plus, it's a
great way to personalize your crafting experience.
Have you ever looked at a vibrant flower and wished you could keep its beauty forever? I know I have! I'm so excited to share my love of flower pressing with you. It lets you turn those gorgeous blooms from your garden into lasting works of art. And guess what? It's super easy and affordable, perfect for nature lovers like us!

Making your own flower press
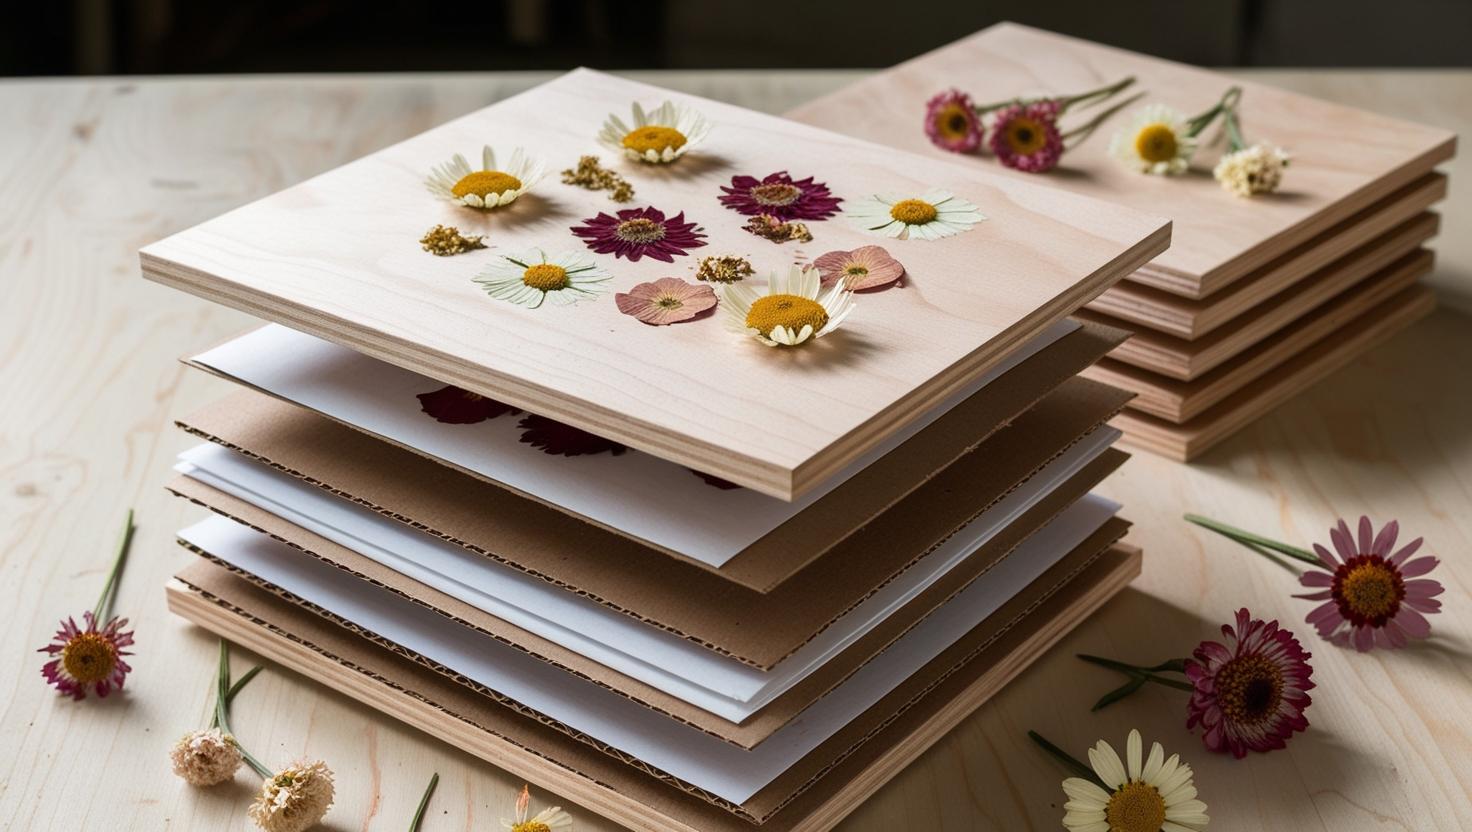
Making your own flower press is surprisingly simple. You'll need two pieces of sturdy cardboard or plywood, some absorbent paper (like blotting paper or even printer paper works!), some cardboard and something to hold it all together – screws, bolts, or even strong elastic bands and click buckles will do the trick. Screws and bolts are for plywood and strong elastic band is for both plywood and cardboard.
I remember the first time I was making my first flower
press. I went to a home improvement store in my neighbourhood. A worker there
helped me with cutting the plywood to the size I wanted, for free. Beside that
he also gave me rest of other wood they had. I think most home improvement
stores have service of free cutting. They might give you free pieces of wood as
well so they didn’t have to throw it away.
First, cut your cardboard or wood into equal
squares. I like to use 25x20 cm, it’s not too big so it’s easy to store and big
enough to press lots of flowers. But you can adjust the size to fit your needs.
If you're using wood, drill holes in the corners for your screws or bolts.
Next, cut your absorbent paper and cardboards to the same size as your boards, if you use elastic band. If you use screws and bolts, cut a piece at each corner of the paper / cardboard diagonally to allow space for the screws.
This paper will wick away moisture from the flowers, helping them dry quickly and evenly. Now, stack your materials: a board, several sheets of paper, paper, cardboard, paper, paper, cardboard and the other board, and secure it all tightly with your chosen fasteners. Congratulations, you've just made your own flower press!
Choosing flowers for your flower press
Now for the fun part – choosing your flowers!
The best flowers for pressing are those that are relatively flat and not too
thick. Think daisies, pansies, violets, and ferns. Avoid flowers with lots of
moisture, like succulents, as they can be tricky to dry properly.
When gathering your flowers, make sure they're
dry and free of dew. The drier they are to start, the better they'll press. The next step is the same as the book method. Gently place your chosen blooms between sheets of absorbent paper inside your
flower press, making sure the petals are spread out nicely. Add another layer
of paper, then cardboard, other paper, more flowers, paper and cardboard, creating
a layered sandwich of blooms, paper and cardboard.
The hardest part
Once your press is full, tighten the screws or
bands to apply even pressure. Now comes the hardest part: waiting! So, how long
to press flowers? Most flowers take about 2-4 weeks to dry completely. The key
is patience. Store your flower press in a warm, dry place away from humidity.
While you're waiting, imagine all the beautiful
creations you'll make with your pressed flowers! The possibilities are endless
– greeting cards, framed artwork, bookmarks, even resin jewelry. Are you
starting to feel the excitement?
When to open the flower press?
I would check it after 3 days. Open it carefully. Sometimes you need to change the paper. Otherwise the moisture will keep there and the flowers will become brown. After a few weeks, carefully open your flower press. Use tweezers to gently peel the delicate, papery flowers from the paper. A well dried flowers is stiff. They should feel completely dry and brittle. If they still feel damp, you can change the paper and press them for a few more days.
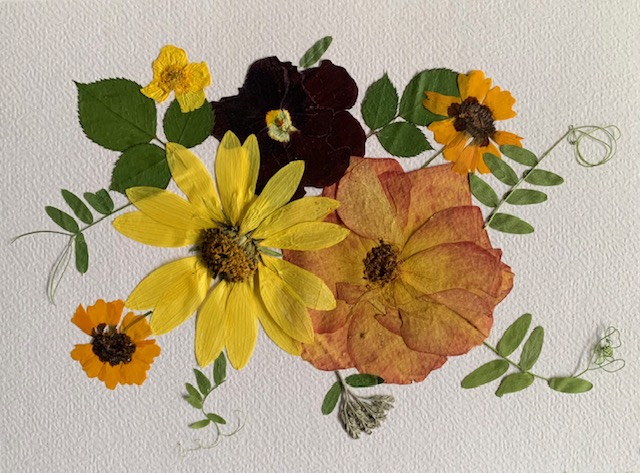
Now, let your creativity bloom! Arrange your
pressed flowers on cardstock and glue them down to create stunning greeting
cards. Frame them between two pieces of glass for a touch of botanical elegance
in your home. The only limit is your imagination!
Learning how to press a flower by using a flower
press opens up a world of creative possibilities. It's a simple yet powerful
way to connect with nature and create something beautiful. Flower pressing is more than just a craft; it's
a journey of discovery. Each flower, each season, offers new opportunities for
creativity. It’s a relaxing activity that brings you closer to nature.
Tips
- Later, if you have pressed flowers for some time, don't be afraid to experiment with different flowers, leaves, grass, colors, and arrangements. Have fun with it!
- You can press flowers as a whole, petal by petal or cutting in a half.
- Try layering smaller flowers over larger ones, or incorporating leaves and ferns into your designs.
- Don't pick flowers after raining or early in the morning. Let nature dry them first.
- You can also use foam instead of paper. It absorbs more.
- Kitchen paper is also possible but choose one that has no motif. Otherwise the motif will also drawn on your flowers.
As you gain experience, you might want to invest
in a professional flower press with more features. But even a simple homemade
press can create beautiful results.
So, are you ready to give flower pressing a try? Gather some blooms from your garden, make your own flower press, and start creating your own botanical masterpieces! Happy pressing!
